

How Do I Upload Mongodb Database To Github
You tin configure an App to automatically deploy whenever you push updated configuration files to a GitHub repository. Yous can clone the GitHub repository to your computer so use standard Git commands to pull down the latest versions and deploy new changes.
- A GitHub business relationship and repository. The repository should either contain an application directory or be empty. For information on how to create an empty repository, see GitHub's create a repo guide.
- An installed re-create of the Git CLI. If y'all exercise not have
gitinstalled, see the official guide for Installing Git. - A MongoDB Atlas Programmatic API Key to authenticate and authorize admission to your app'south underlying Git repo. If you have non yet generated a programmatic API key for your Atlas system, do so at present.
In lodge to automatically deploy based on a GitHub repository, App Services requires that you install a GitHub app that has, at minimum, read access to the repository.
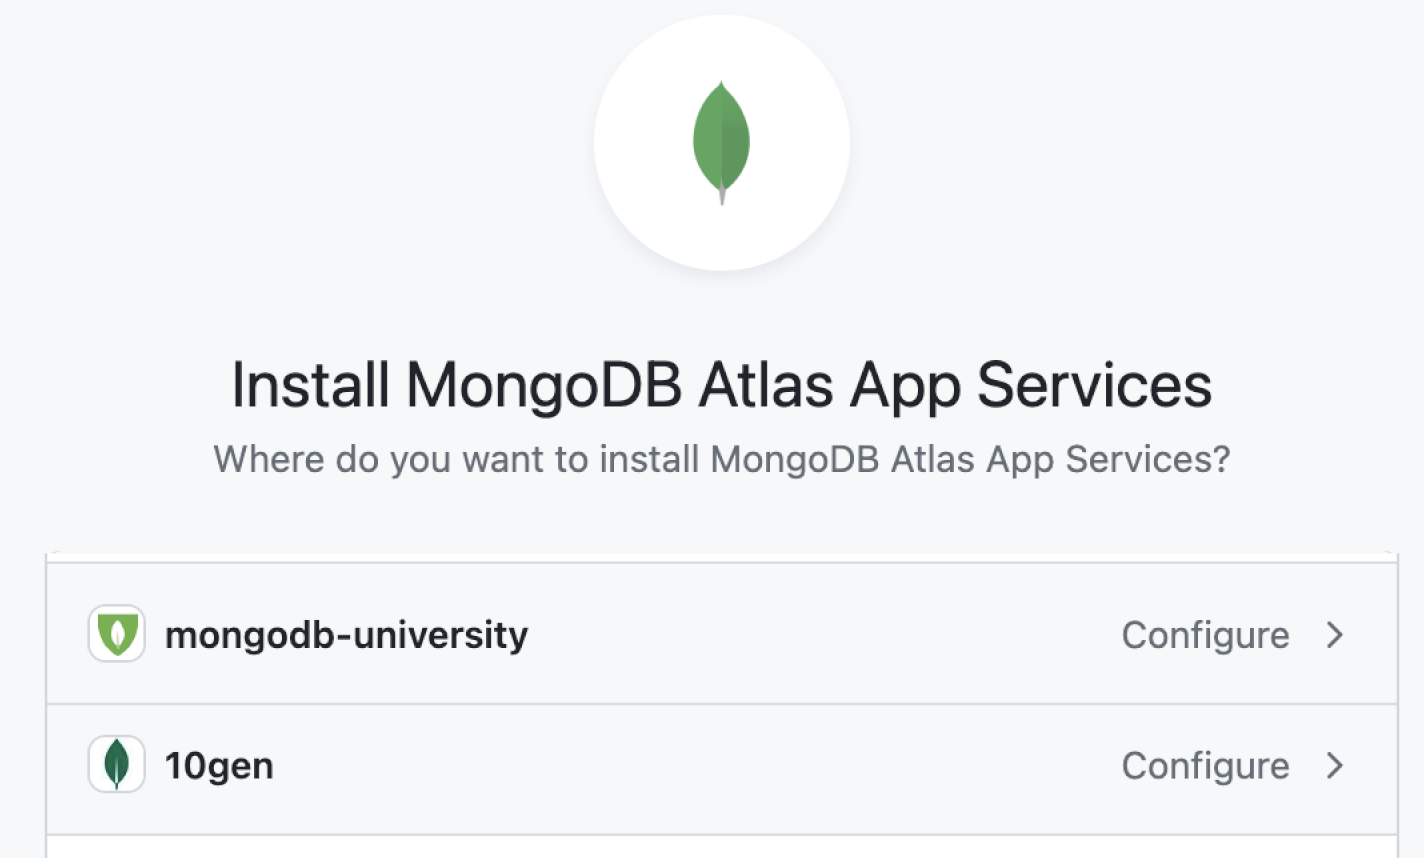
To install the app, click Deployment in the left navigation card of the Atlas App Services UI. Select the Configuration tab and then click Install App Services on GitHub. A new browser window will open to the GitHub awarding installation menses.
GitHub Hallmark
GitHub may require y'all to provide your GitHub account credentials before you can install the app.
Select the GitHub account or organisation for which you want to install the app:
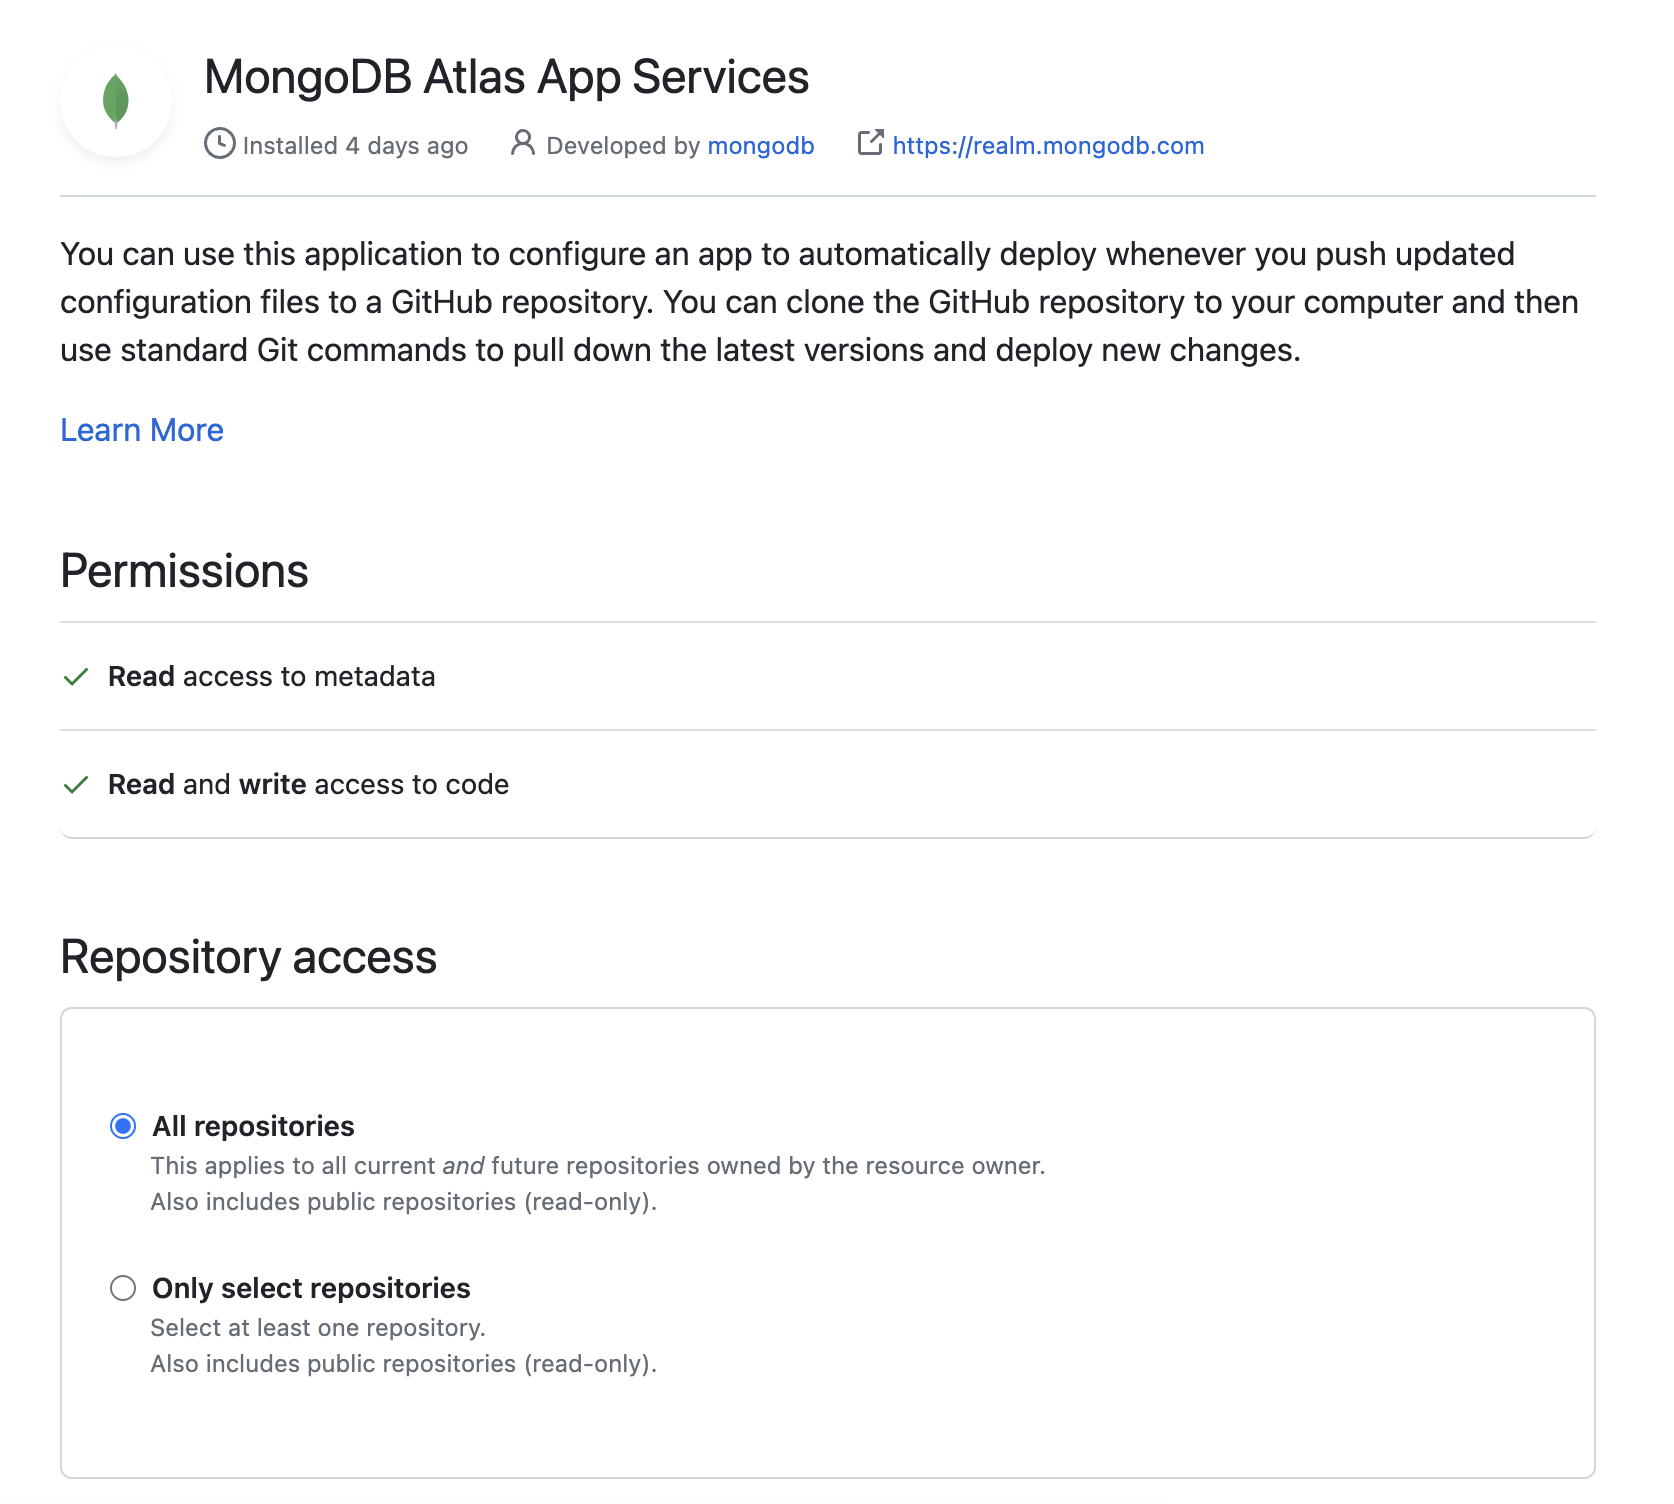
Specify i or more repositories for which you want to grant Atlas App Services read access. Y'all can either select specific repositories or grant admission to all of your repositories on GitHub. Select the repositories yous desire to use and so click Install.
Later you lot install the application, click Qualify to cease connecting App Services to GitHub. This leads you to a github permissions screen, where yous will click Qualify Atlas App Services.
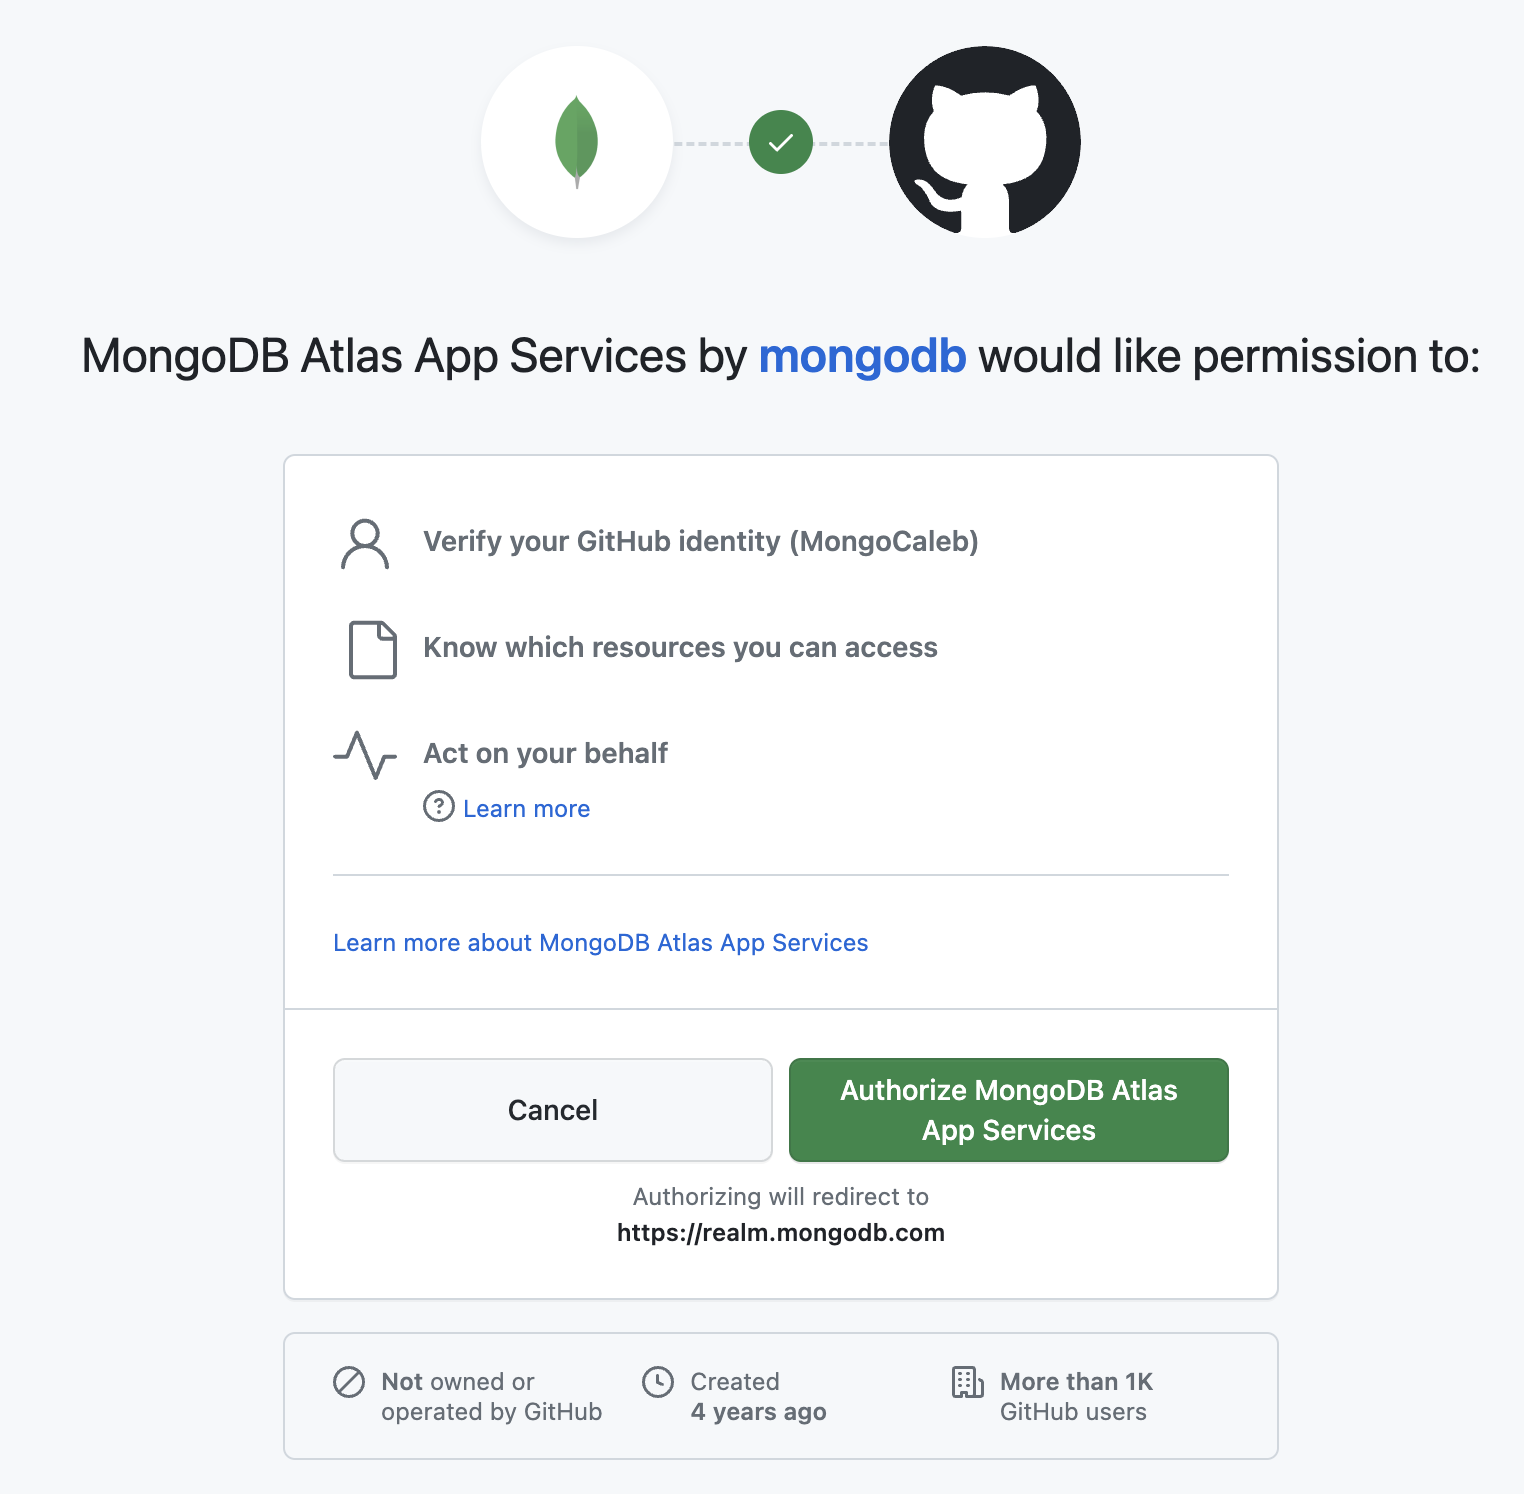
GitHub Permissions
You tin manage permissions for the App Services GitHub application from the Installed GitHub Apps page in your GitHub settings.
Once you lot have linked your GitHub account to your App, you can specify a repository that App Services should automatically deploy. Specify the Repository, Branch, and Directory that incorporate the App's configuration files and so click Relieve.

The list of repositories will only comprise repos that you have granted App Services read access to.
Clone a local copy of the Git repository that y'all specified:
git clone https://github.com/<organization>/<repo>.git
The configured co-operative and directory must incorporate an application directory with configuration files that define your application. You can create the application directory manually or consign the application directory of an existing app.
In order to deploy successfully, your git repository must not contain some fields that are present in your application export.
If you are using realm-cli v1.10 for the v1 app structure, use the --for-source-command flag when you export an app. This flag omits the name, app_id, location, and deployment_model fields in the config.json file, and the config.clusterName field of the config.json of whatever Atlas information sources continued to the application.
If you are using the realm-cli v2.10 for the v2 app structure, --for-source-command is no longer an available flag. The v2 app structure no longer contains most of those references. The only field y'all must remove is the app_id from the realm_config.json file.
Add the application directory to the repository and and then commit the changes:
git add -A git commit -grand "Adds App Services Application Directory"
One time yous have committed the latest version of the application to the repository, push button it to your GitHub repository:
git push origin <branch proper noun>
Subsequently y'all have specified a repository to deploy and initialized it with the latest version of your app, you need to enable automatic deployment to begin deploying information technology. On the Configuration tab of the Deploy page, click Enable Automatic Deployment. In the modal that appears, click Enable Automated Deployment to confirm your choice.

A deployment contains one or more changes that you take made to your application since the previous deployment. Make any additions, modifications, or deletions to the repository that you want to include in your deployment.
Refer to the App Configuration reference page and private component reference pages for details on the structure and schema of your application directory.
Do non make breaking schema changes via automated deploy
Because breaking - also chosen destructive - schema changes require special handling, App Services does not support making breaking schema changes via automated deploy with GitHub. Instead, you should brand breaking changes from the Atlas App Services UI.
Once you have updated your application configuration, yous tin can deploy the updates as a new version of your App by pushing them to the GitHub repo that you lot specified. If Automatic GitHub Deployment is enabled, App Services immediately deploys the latest commit for the configured branch and directory.
When you are ready to deploy, commit all of the files that y'all desire to include and then push them to GitHub:
git add together -A git commit -k "<commit message>" git button origin <branch name>
In one case you successfully push button your changes to GitHub, App Services immediately deploys a new version of your application that matches the country of the latest commit. Customer applications volition automatically employ the newest version, so make sure that you also update your customer code to use the new version if necessary.
Deployment History
Y'all can run across the currently deployed version of your application also as a historical log of previous deployments in the Deployment History table in the Atlas App Services UI.
Automatic GitHub deployment does not prevent you from making changes to your App from the App Services UI. Yous can make changes to your app via the UI, and App Services automatically commits changes dorsum to your linked GitHub repository.
If your linked GitHub repository contains new commits that are not reflected in your Atlas App Services UI changes, App Services can't automatically commit those changes to your repo. However, you can use the Consign push to download the updated configuration files to your local car, so you push them manually to your GitHub repository.
When changes are committed to your linked GitHub repository, y'all'll run into a Commit: <commit-hash> link in your app's Deployment History.
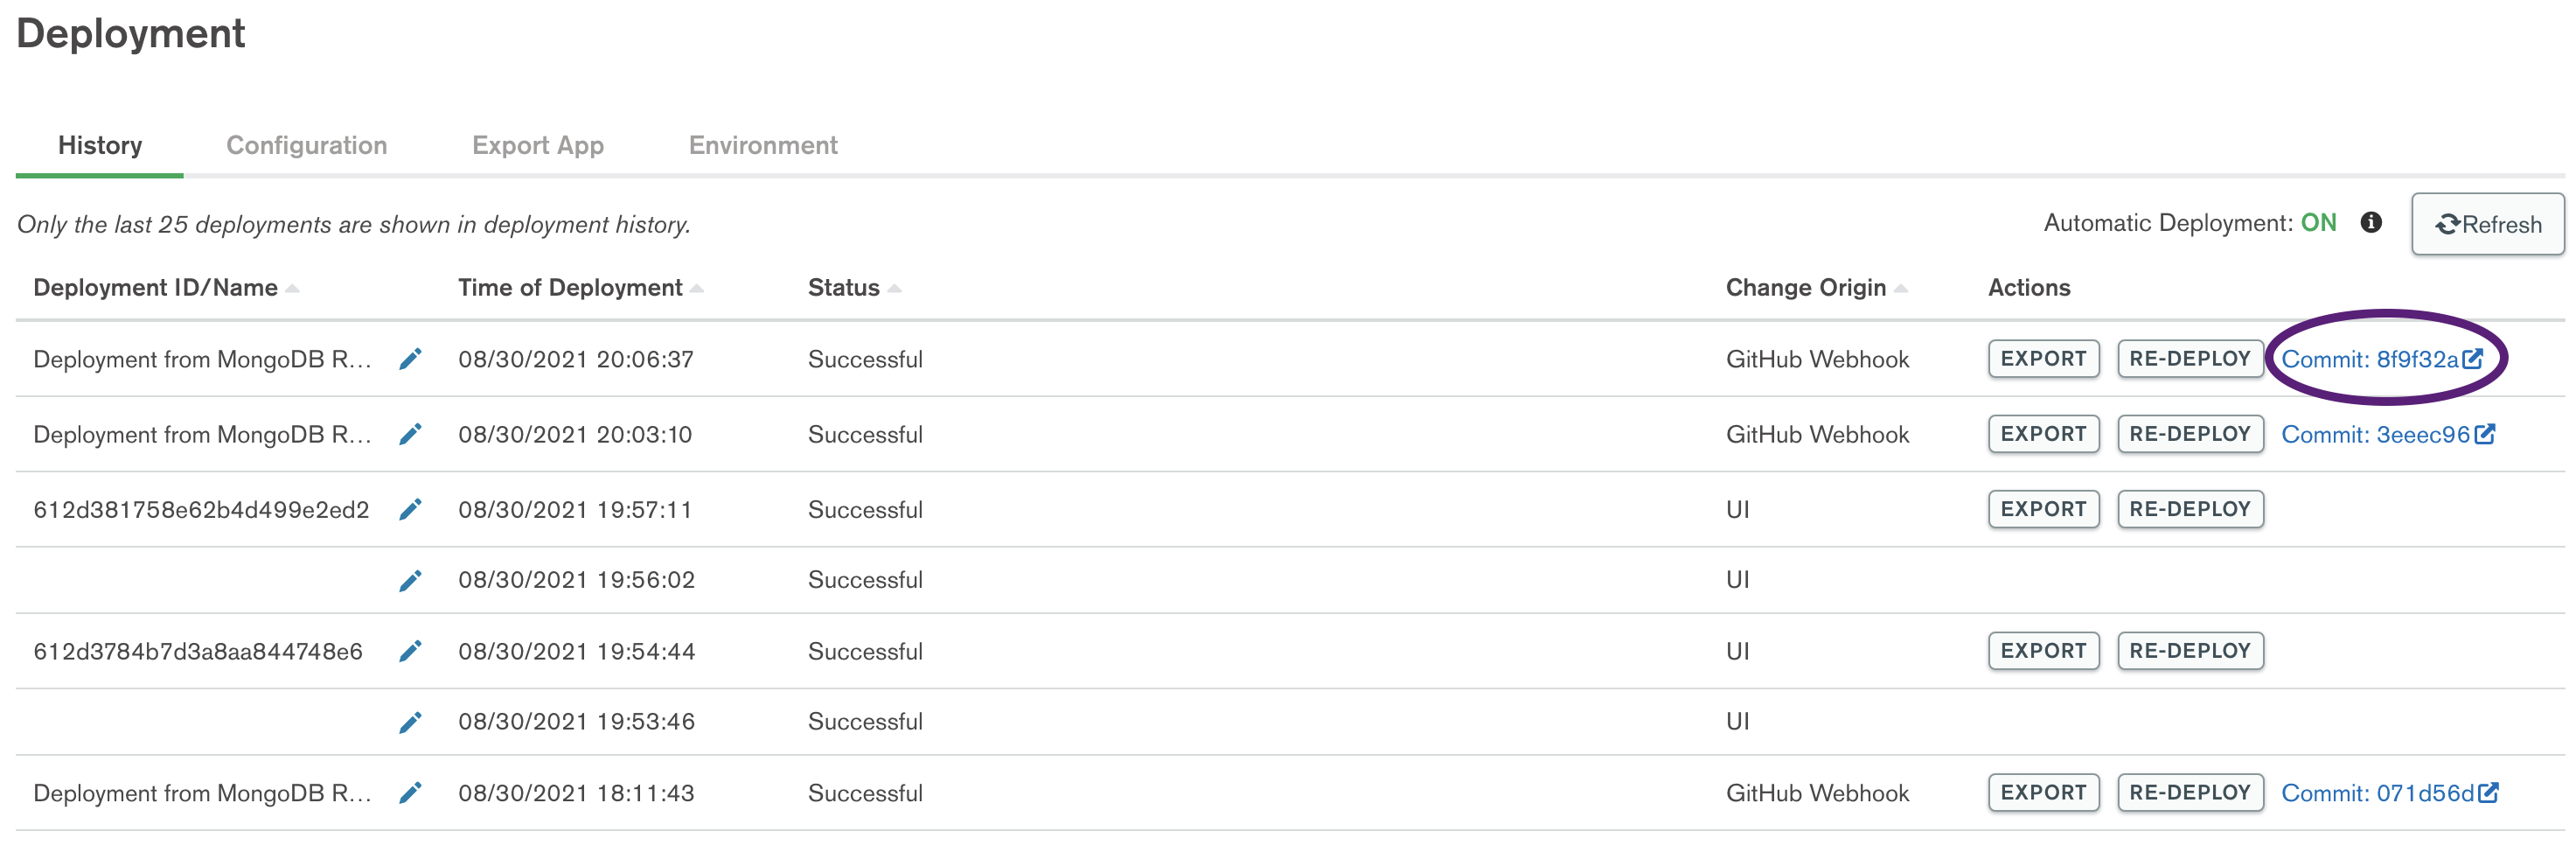
You can click that link to view the commit in GitHub. The mongodb-realm bot appears as the commit author.

With automatic GitHub deployment enabled, avoid making changes to your app with Realm CLI because:
- If yous push changes with the CLI while GitHub deployment is enabled, App Services deploys the changes but does not commit them dorsum to your linked repository.
- The configuration files in your repository no longer reflect the current state of your app.
- To go the changes y'all pushed, a contributor must manually pull the latest configuration files directly from your App. The GitHub repository is no longer the source of truth.
- If a correspondent adds a new commit to a stale repo, they overwrite whatsoever deployed but uncommitted changes.
- You tin deploy your App by modifying a repo hosted on GitHub.
- While Automatic GitHub Deployment is enabled, Atlas App Services immediately deploys the latest commit. To deploy, commit your changes locally, and so push them to your repo on GitHub.
- When you lot make changes via the App Services UI after enabling Automatic GitHub Deployment, those changes are automatically committed back to your linked repository.
- Do non use Realm CLI to update configuration files after enabling Automatic GitHub Deployment.
Source: https://www.mongodb.com/docs/atlas/app-services/manage-apps/deploy/automated/deploy-automatically-with-github/
Posted by: clarkrinstall.blogspot.com
0 Response to "How Do I Upload Mongodb Database To Github"
Post a Comment